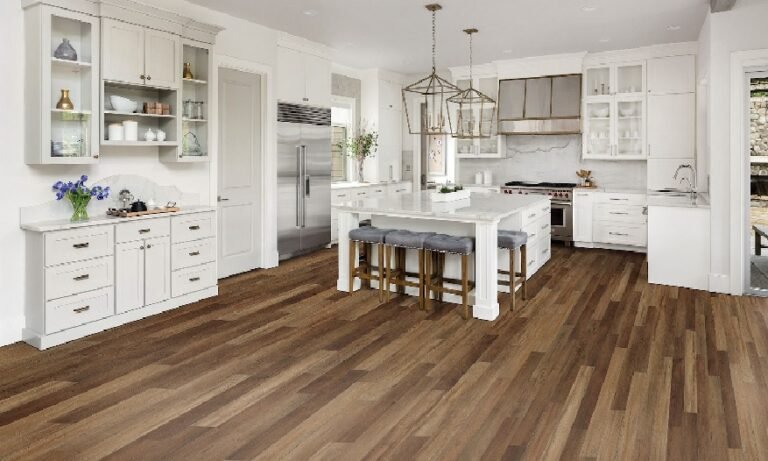
Waterproofing your floors is an essential step to protect your home from water damage. One of the best options for achieving this is using vinyl flooring. This type of flooring is not only stylish and durable but also offers excellent resistance to moisture. Let’s explore the benefits and the process of waterproofing with vinyl flooring.
Benefits of Vinyl Flooring
- Durability and Longevity
Vinyl flooring is known for its durability. It can withstand heavy foot traffic, making it an excellent choice for busy households. Additionally, it is resistant to scratches and stains, ensuring that your floor looks new for years.
- Water Resistance
Vinyl flooring is inherently water-resistant, and some types are entirely waterproof. This makes it an ideal choice for areas prone to moisture, such as kitchens, bathrooms, and basements. Unlike hardwood or laminate, vinyl does not swell or warp when exposed to water.
- Easy Maintenance
Maintaining vinyl flooring is simple. Regular sweeping and occasional mopping with a damp cloth are usually sufficient to keep it clean. There is no need for special cleaning products or procedures, saving you time and effort.
Types of Vinyl Flooring
- Sheet Vinyl
Sheet vinyl comes in large, continuous sheets that provide a seamless look. It is highly water-resistant, as there are no seams where water can seep through. This makes it perfect for bathrooms and other wet areas.
- Luxury Vinyl Planks (LVP)
Luxury vinyl planks mimic the look of hardwood floors while offering superior water resistance. They are easy to install and can be used in any room of the house. LVP is also softer underfoot compared to traditional wood or tile, providing extra comfort.
- Vinyl Tiles
Vinyl tiles are similar to ceramic tiles but are lighter and easier to install. They offer excellent water resistance and come in a variety of designs and patterns. Vinyl tiles are ideal for creating custom patterns and unique looks.
Installation Process
- Preparation
Before installing vinyl flooring, ensure the subfloor is clean, dry, and level. Any imperfections can affect the final result. Remove any old flooring and repair any damage to the subfloor.
- Laying the Vinyl
For sheet vinyl, measure the room and cut the vinyl to fit, leaving a small margin for trimming. Lay the vinyl in place and use adhesive to secure it. For LVP and vinyl tiles, start from the center of the room and work your way outwards, using a click-and-lock system or adhesive.
- Sealing the Edges
To ensure complete waterproofing, seal the edges of the vinyl flooring with silicone caulk. This prevents water from seeping underneath the floor and causing damage to the subfloor.
Maintenance Tips
- Regular Cleaning
Sweep or vacuum regularly to remove dirt and debris that can scratch the surface. Mop with a damp cloth and a mild detergent as needed.
- Avoid Harsh Chemicals
Avoid using harsh chemicals or abrasive cleaning tools on vinyl flooring. These can damage the surface and reduce its lifespan.
- Protect High-Traffic Areas
Use rugs or mats in high-traffic areas to protect the floor from wear and tear. This can help maintain the appearance and longevity of your vinyl flooring.
Read more: https://www.usaacemedia.com/
